
Vixel guides
From a product photo to a 15-second AI commercial
You have a product photo. What would make someone stop and look? Start with one everyday moment—a cup by the door, a hand reaching for it, the first walk of the morning—and build a short commercial around that.
By Vixel team · Updated
The travel-cup idea is ready to edit. Bring your own product references when you open Creator.
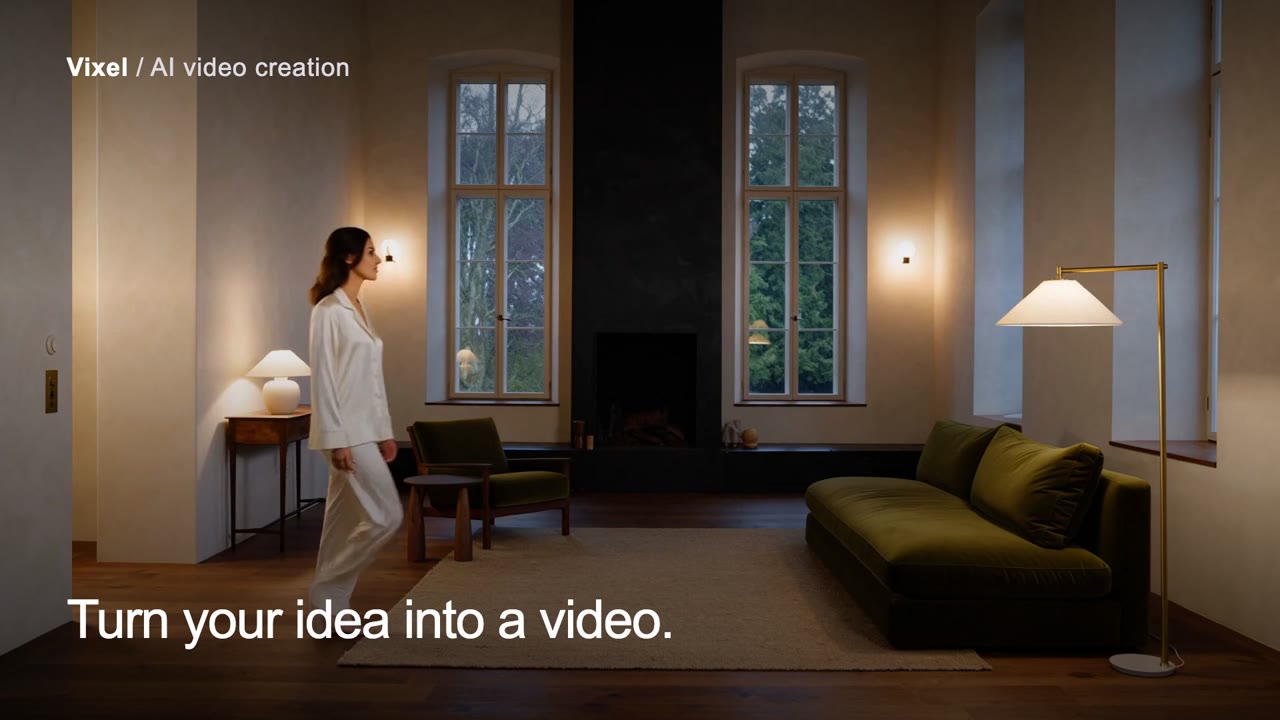
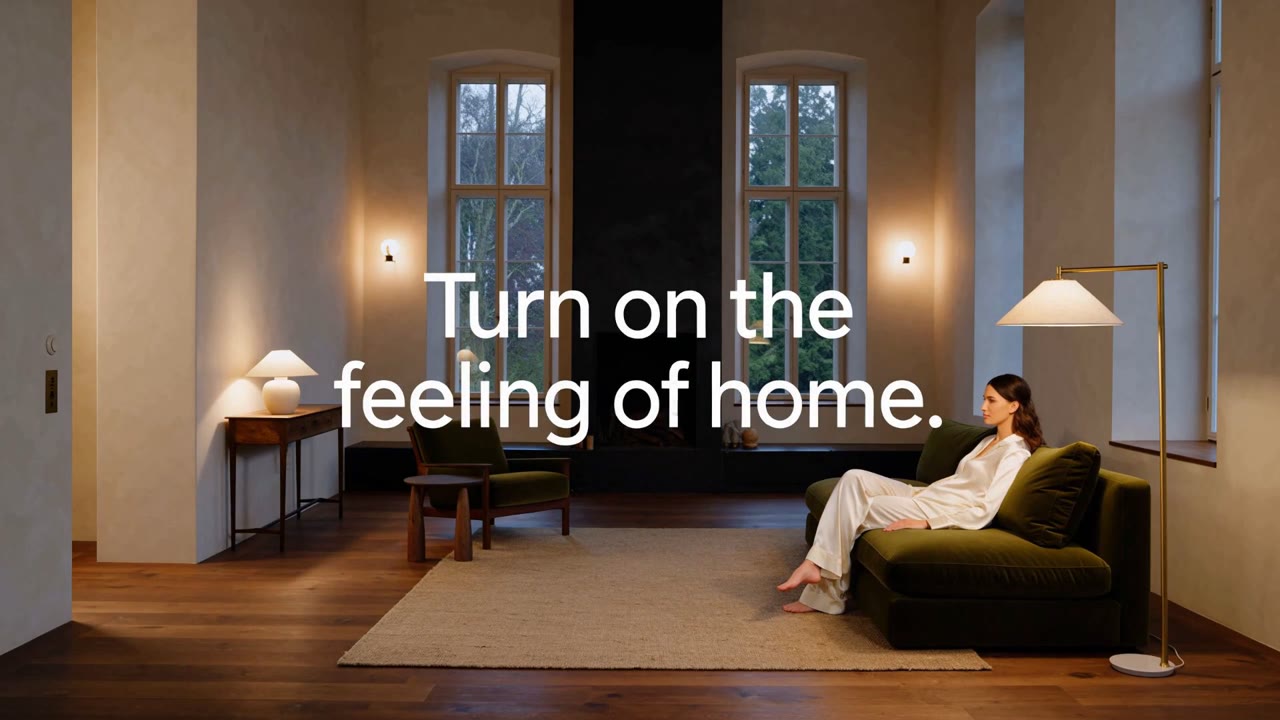
Light changes the feeling of a room in this 29-second Vixel brand film. Watch the mood shift, then try the separate 15-second travel-cup storyboard below.
Let’s make: A product brief and a three-shot plan you can review before producing a short commercial.
01
Choose the product and one message
Use clear photos you own or can use: a front view, a side view and any detail that must survive generation. Keep the real silhouette, material, color, packaging and logo visible in your references. A single photo may not describe the back of an object; supply that view when the shot needs it.
Choose one audience, one placement and one message. A useful first brief describes a visible moment, such as taking a travel cup on a morning walk. Claims about insulation, durability or health need your own supporting facts; a generated scene does not establish them.
02
Give the beginning, middle and end different jobs
Use the first shot to make the situation clear, the second to show the product in use and the last to leave a readable product view. The timing below is an editorial target, not a promise that a model generates those exact clip lengths. Check the supported durations in the selected tool and trim in your editor if needed.
03
Compare the storyboard with the real product
Open the brief in Director, review the proposed script and attach product references in your workspace before visual production. Make one storyboard image first. Compare it with the reference before producing the remaining sequence.
- Check the lid, handle, seams, proportions and material against your photos.
- Check hands and contact points: a hand should hold the cup without merging into it.
- Check that packaging, labels and logos are accurate. If generated lettering is wrong, use your verified artwork in finishing rather than treating it as approved.
- Carry the same product reference and accepted visual direction into the next shot.
04
Test one moving shot before producing the whole ad
Start with the shot that has the most difficult movement, such as a hand picking up the cup. Review the model, settings and displayed credit estimate. Inspect the whole resulting clip for shape changes and broken contact, not only the first frame.
If it fails, name the visible mismatch and simplify the action before retrying. Keep the accepted product reference and framing. Record the actual credits for references, images, video attempts and retries in the worksheet; the quoted cost of one clip is not a finished-ad budget.
05
Review the exported commercial at phone size
Arrange accepted clips in sequence, review the transitions and add your verified copy, brand artwork and suitable audio using the available editing tools. If a finishing feature is unavailable in the workspace, complete it in your video editor. Inspect the exported file for its actual duration, aspect ratio, text and sound.
This workflow creates material for review; it does not promise campaign performance or publish to an ad account. After you choose to publish, compare results using the same audience, placement and measurement window before deciding which creative to develop.
What does your product fit into?
A morning routine, a quiet room, a trip out of town? Open the three-shot brief and replace the cup with your product. Start with the story and the facts you can show.
Adapt this product-commercial briefPaid media uses credits. Check current plans.
Written by the Vixel team. About our guides and examples. If a step needs correcting, let us know.
Start with the task in front of you
Turn a product message into a script and shot sequence with Director.
Develop a character or a visual direction before producing your shots.