
Vixel guides
How to animate a child’s drawing with AI
Bring your child’s drawing to life with AI: upload a clear picture, keep its defining colors and shapes, then plan one small movement. A yellow tummy, a purple hand, a smile much too big for a little dinosaur—those are the details worth keeping.
By Vixel team · Updated
Upload your drawing and review an editable starting point. Opening the template does not generate media.
This real Vixel example uses two existing MiniMax H3 clips from the LiteLLM/TokenRouter route, trimmed to five seconds each. The original drawing, actual storyboards and extracted video frames appear below. Results vary with each drawing and generation.
Let’s make: A short animation that still feels like the picture on your fridge: the character wakes up, steps off the page and gives a little wave.
01
Keep what makes the drawing theirs
The goal is not to turn every sketch into a polished, realistic character. A lopsided eye, scribbled outline or unexpected purple arm may be the very thing that makes it recognizable. Write down two or three details you would miss if they disappeared.
Our example starts with this pink-and-red dinosaur, a bright yellow belly, a purple side and a broad toothy smile. The final character becomes three-dimensional, but those visual clues carry through. The colorful background is simplified to paper so the transformation is easier to follow.
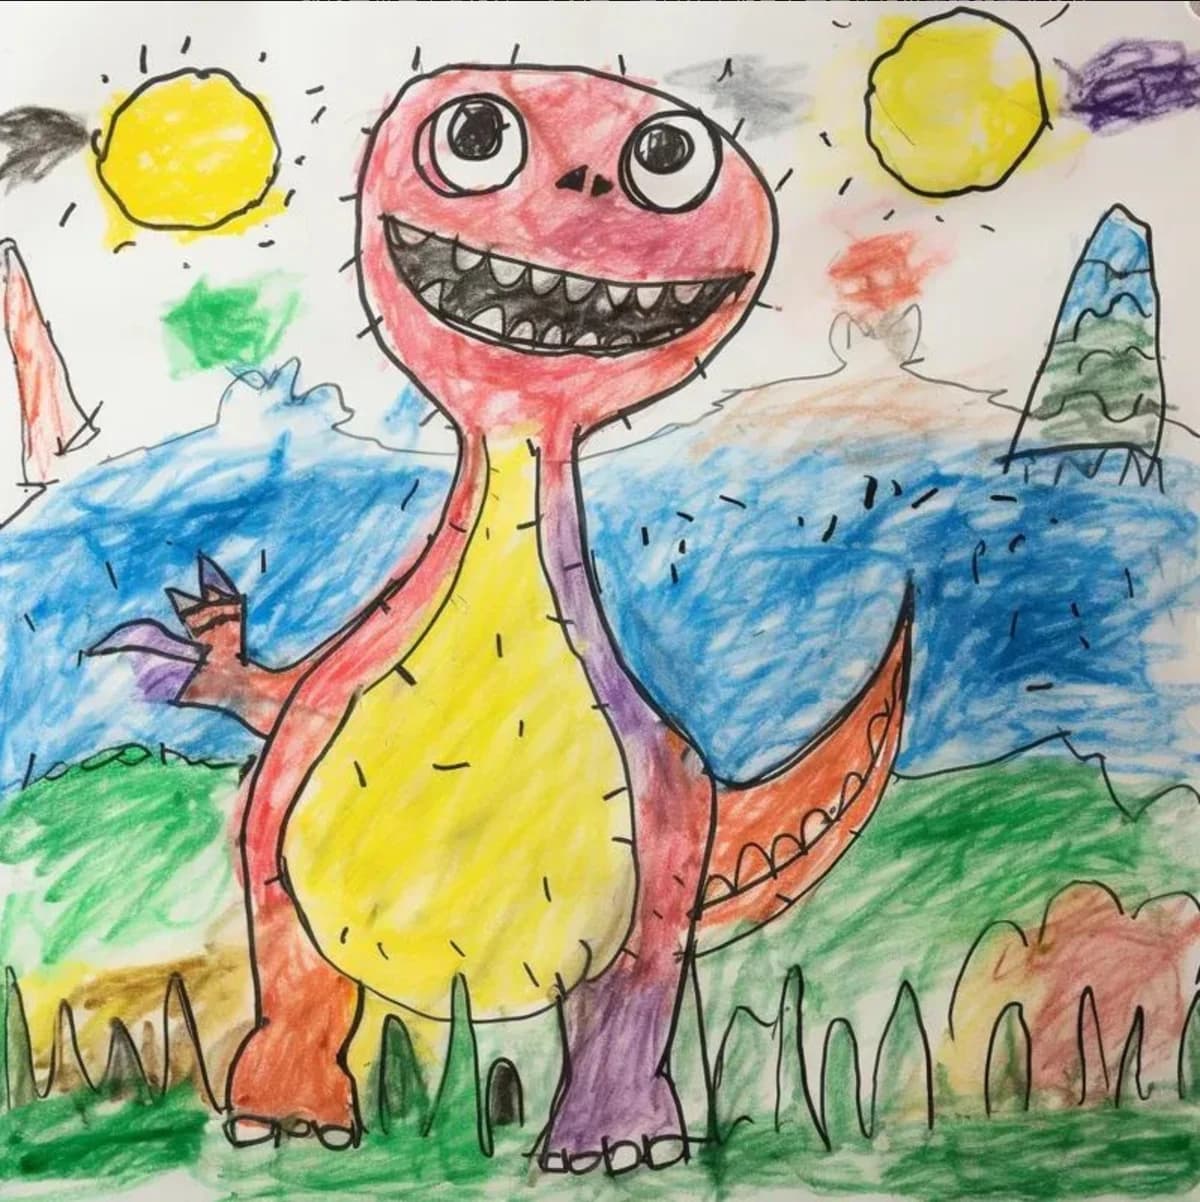
Before you continue: Ask “Can I still recognize the original drawing?” before asking whether the result looks more realistic.
02
Upload one clear picture
Photograph the page in even light, with the character large enough to see. Try to avoid glare, strong shadows and fingers covering the face. You do not need to redraw the picture or force it into a portrait crop; keep the original proportions.
Open Drawing to Life in Quick Starts and add the picture under “Your drawing · main character reference.” Leave the name blank if you like. If several characters appear in the picture, say which one should star. Keep names, school details and other private information outside the image you choose to share.
The drawing should remain attached to the main character in Key Elements. Review the first look before producing the rest of the shots. If a defining color or shape has changed, correct that early instead of carrying it through a whole film.
03
From drawing to animation: one magical moment
A ten-second animation needs very little plot. Here the first shot answers “What if this picture woke up?” The second lets the character acknowledge us. That is enough to create anticipation, surprise and a warm ending.
Limit the action to a blink, a lift, a wave and one tiny step. A chase, a new location and several camera moves would compete with the transformation. You can build a longer story after the character works.
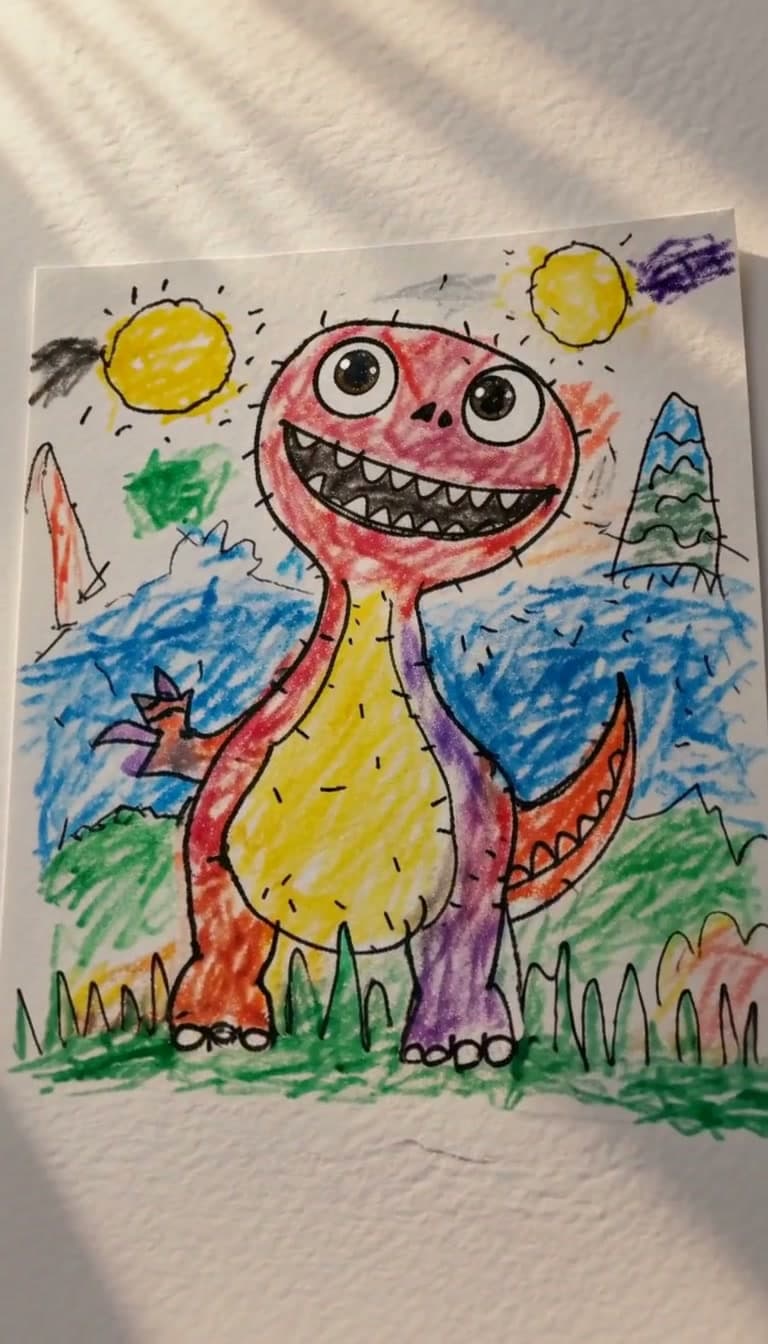
Actual video frame · the opening gives us the flat drawing first. 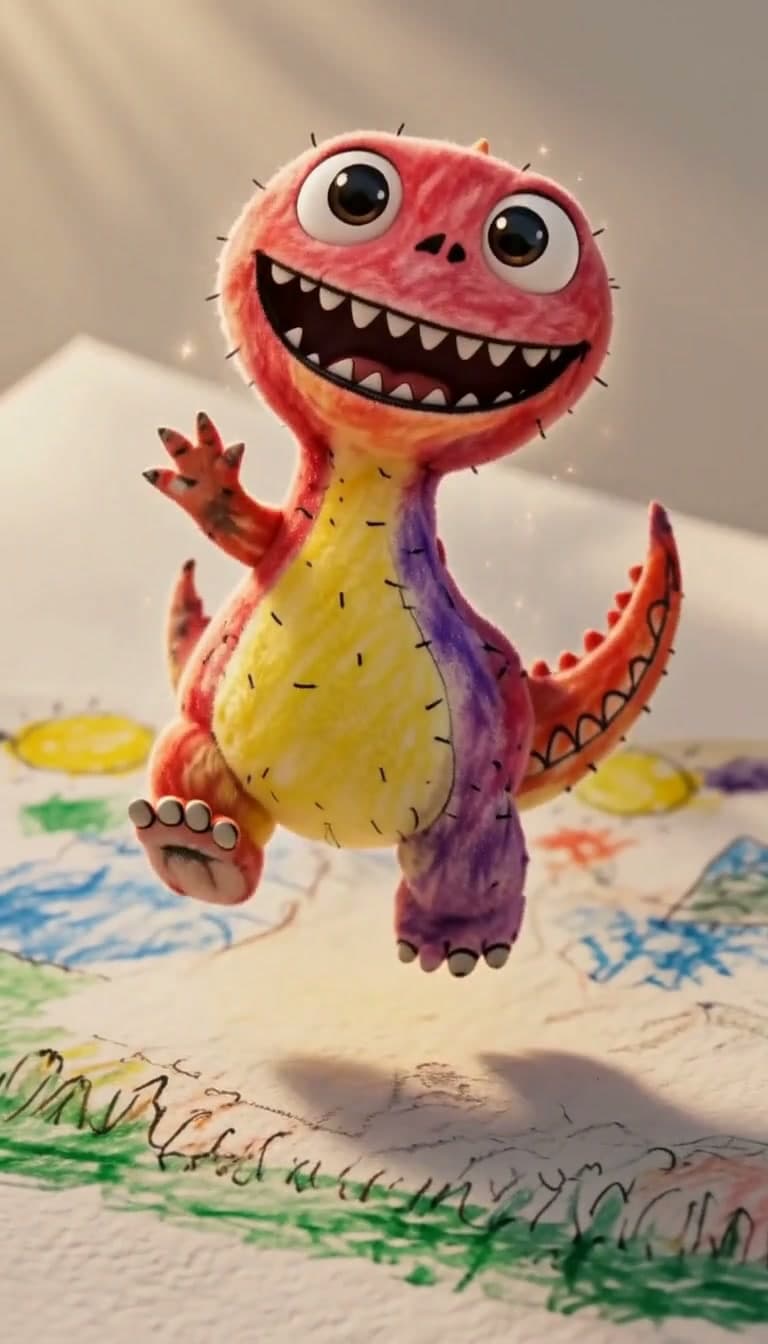
Actual video frame · the reveal preserves the yellow belly and purple side. 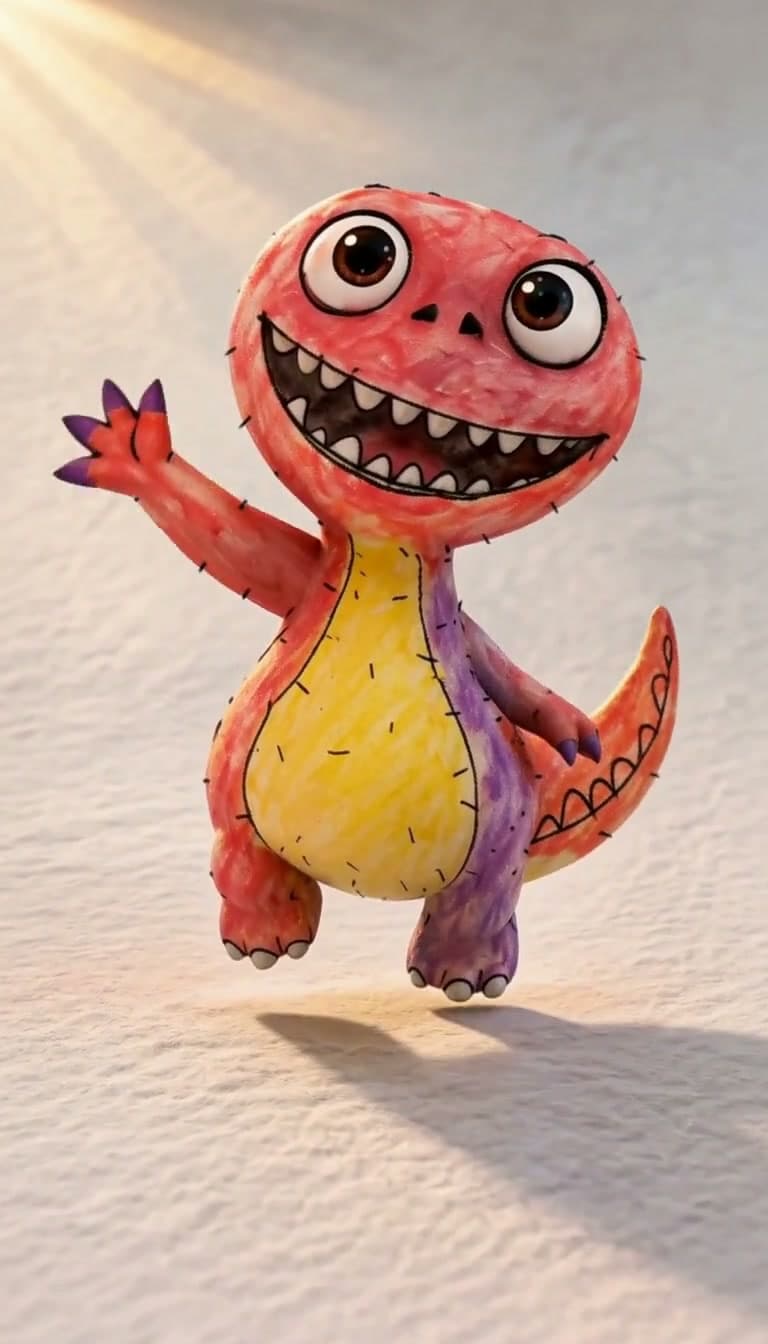
Actual video frame · a little wave gives the character personality. 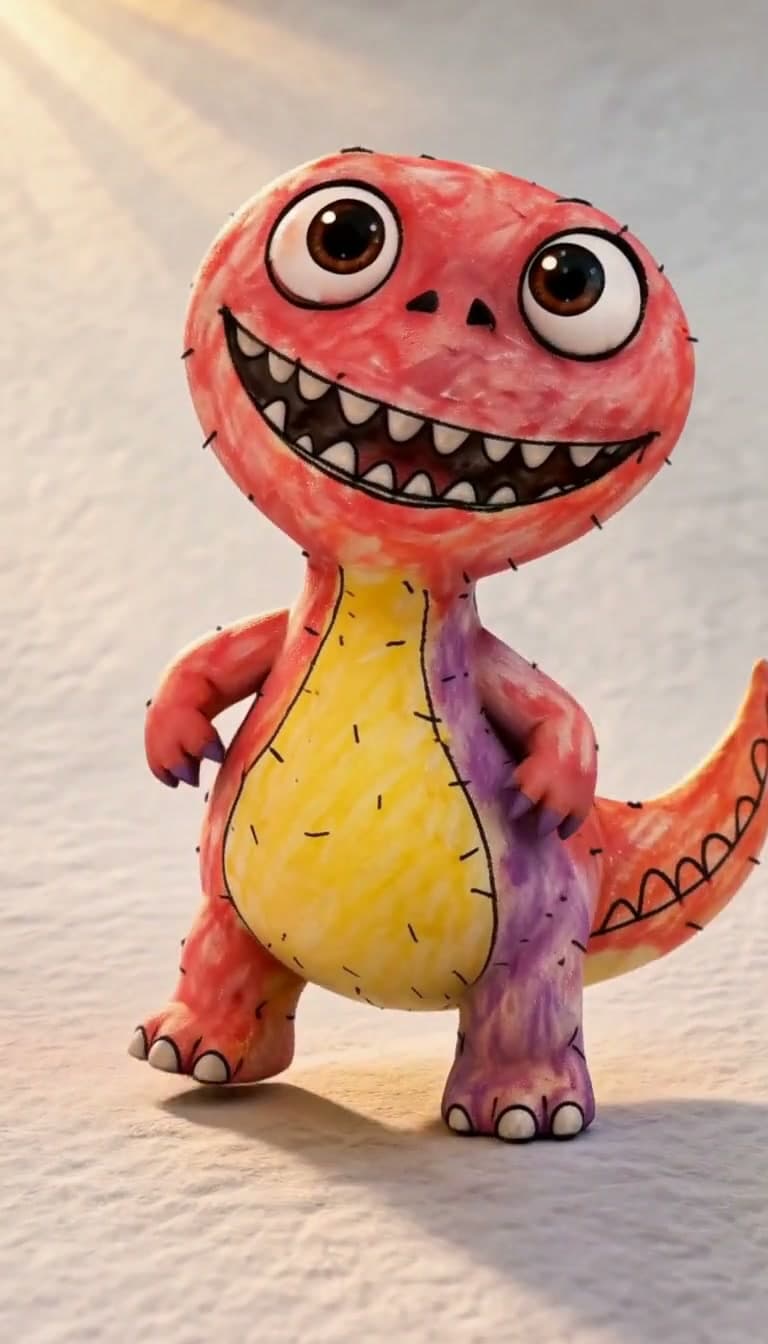
Actual video frame · a settled pose gives the ending room to land.
04
Check the plan before making video
A storyboard lets you inspect the transformation before paying for motion. The panels below are the actual planning images from this Work. Read each sheet in order: they describe moments within one shot, rather than four separate videos.
Check that the character keeps its colors and proportions, that the final pose of the first shot can connect to the opening of the second, and that the action fits the available time. The original drawing supplies identity; these generated boards supply the action plan.
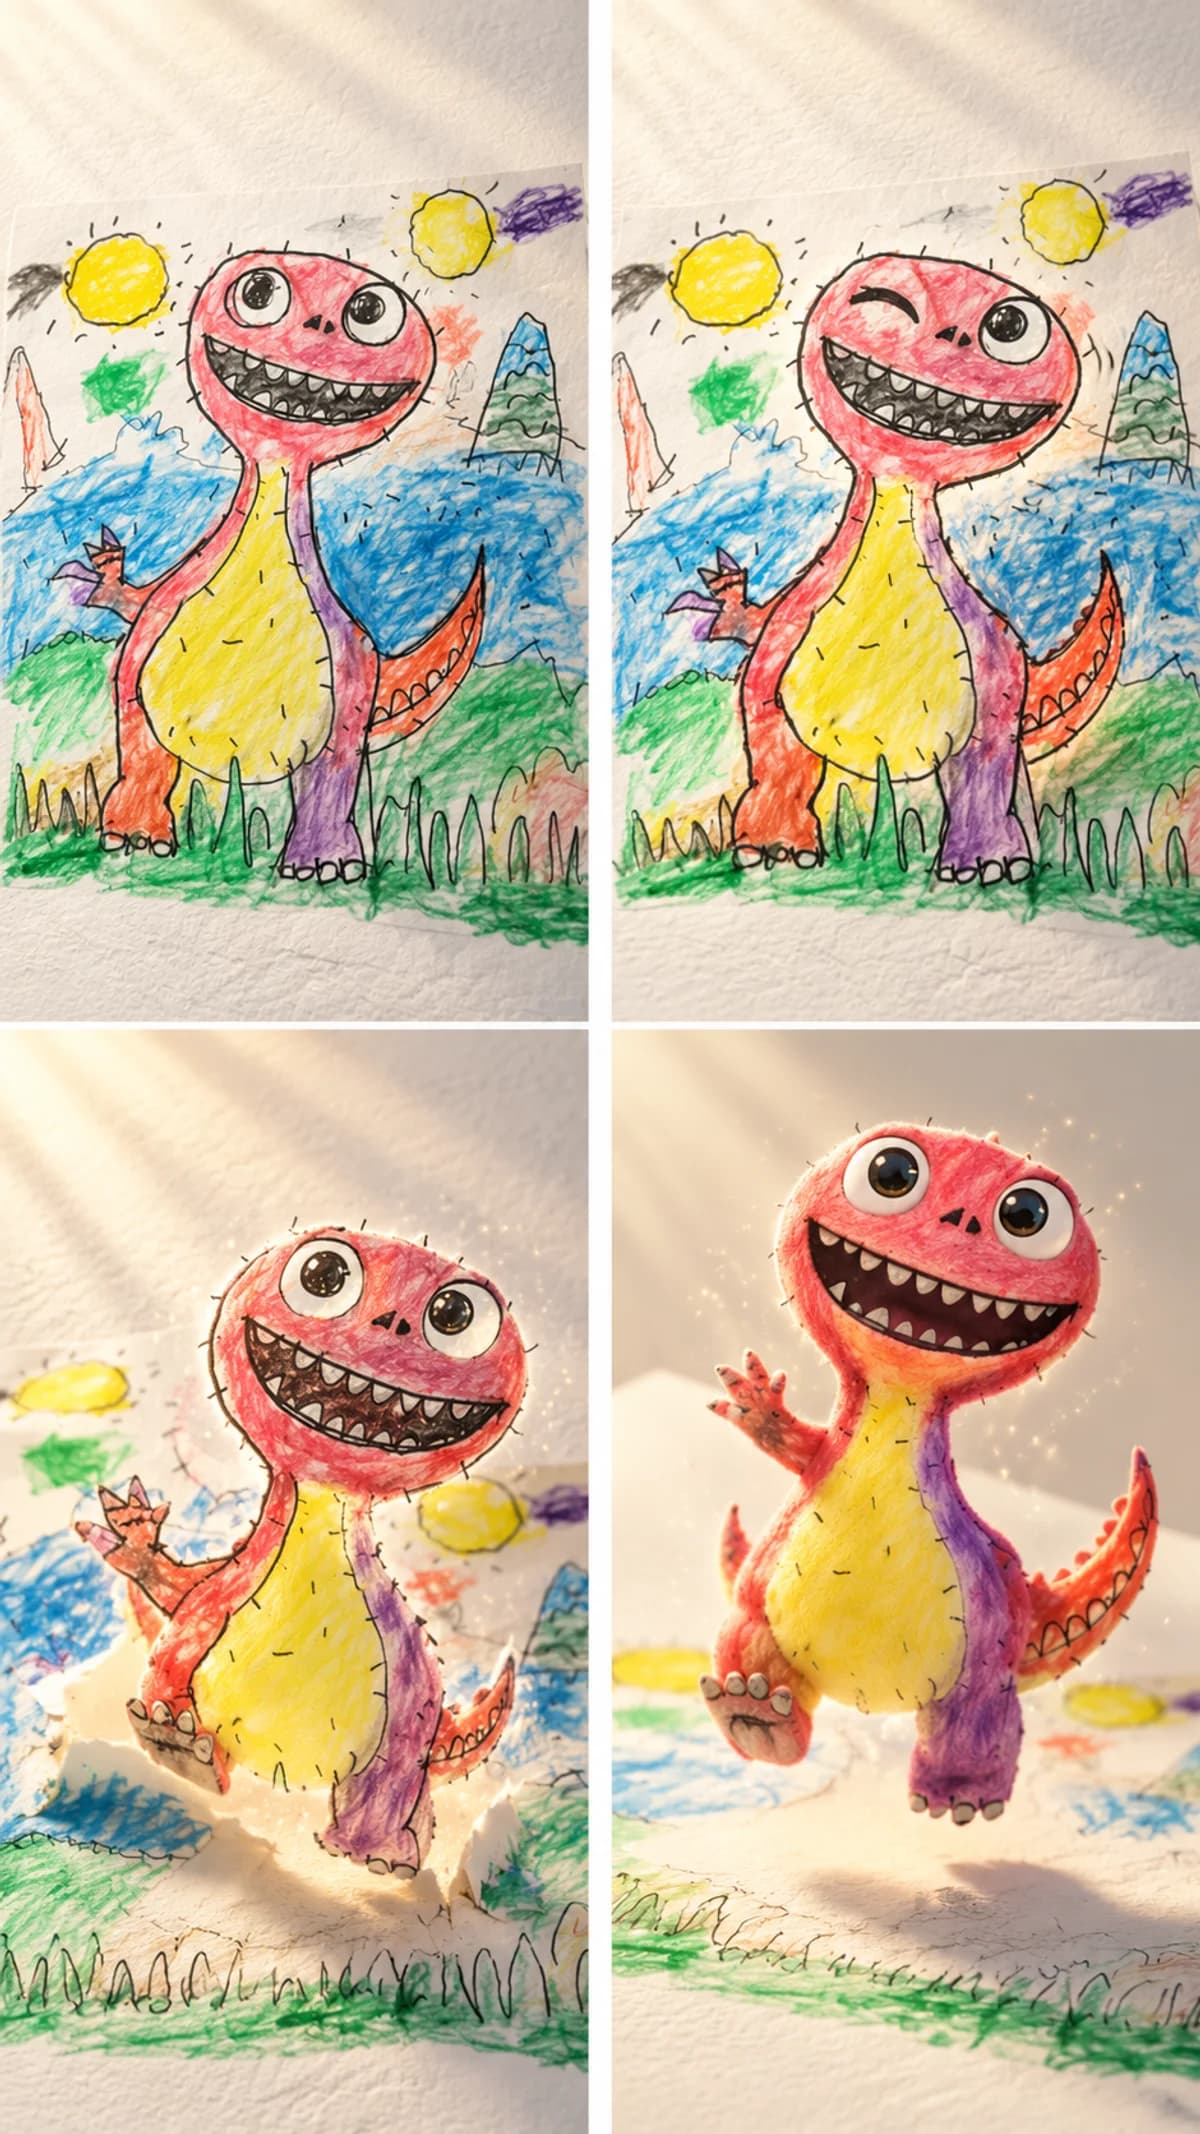
Storyboard 1 · wake, lift and reveal. These are planning panels, not extracted video frames. 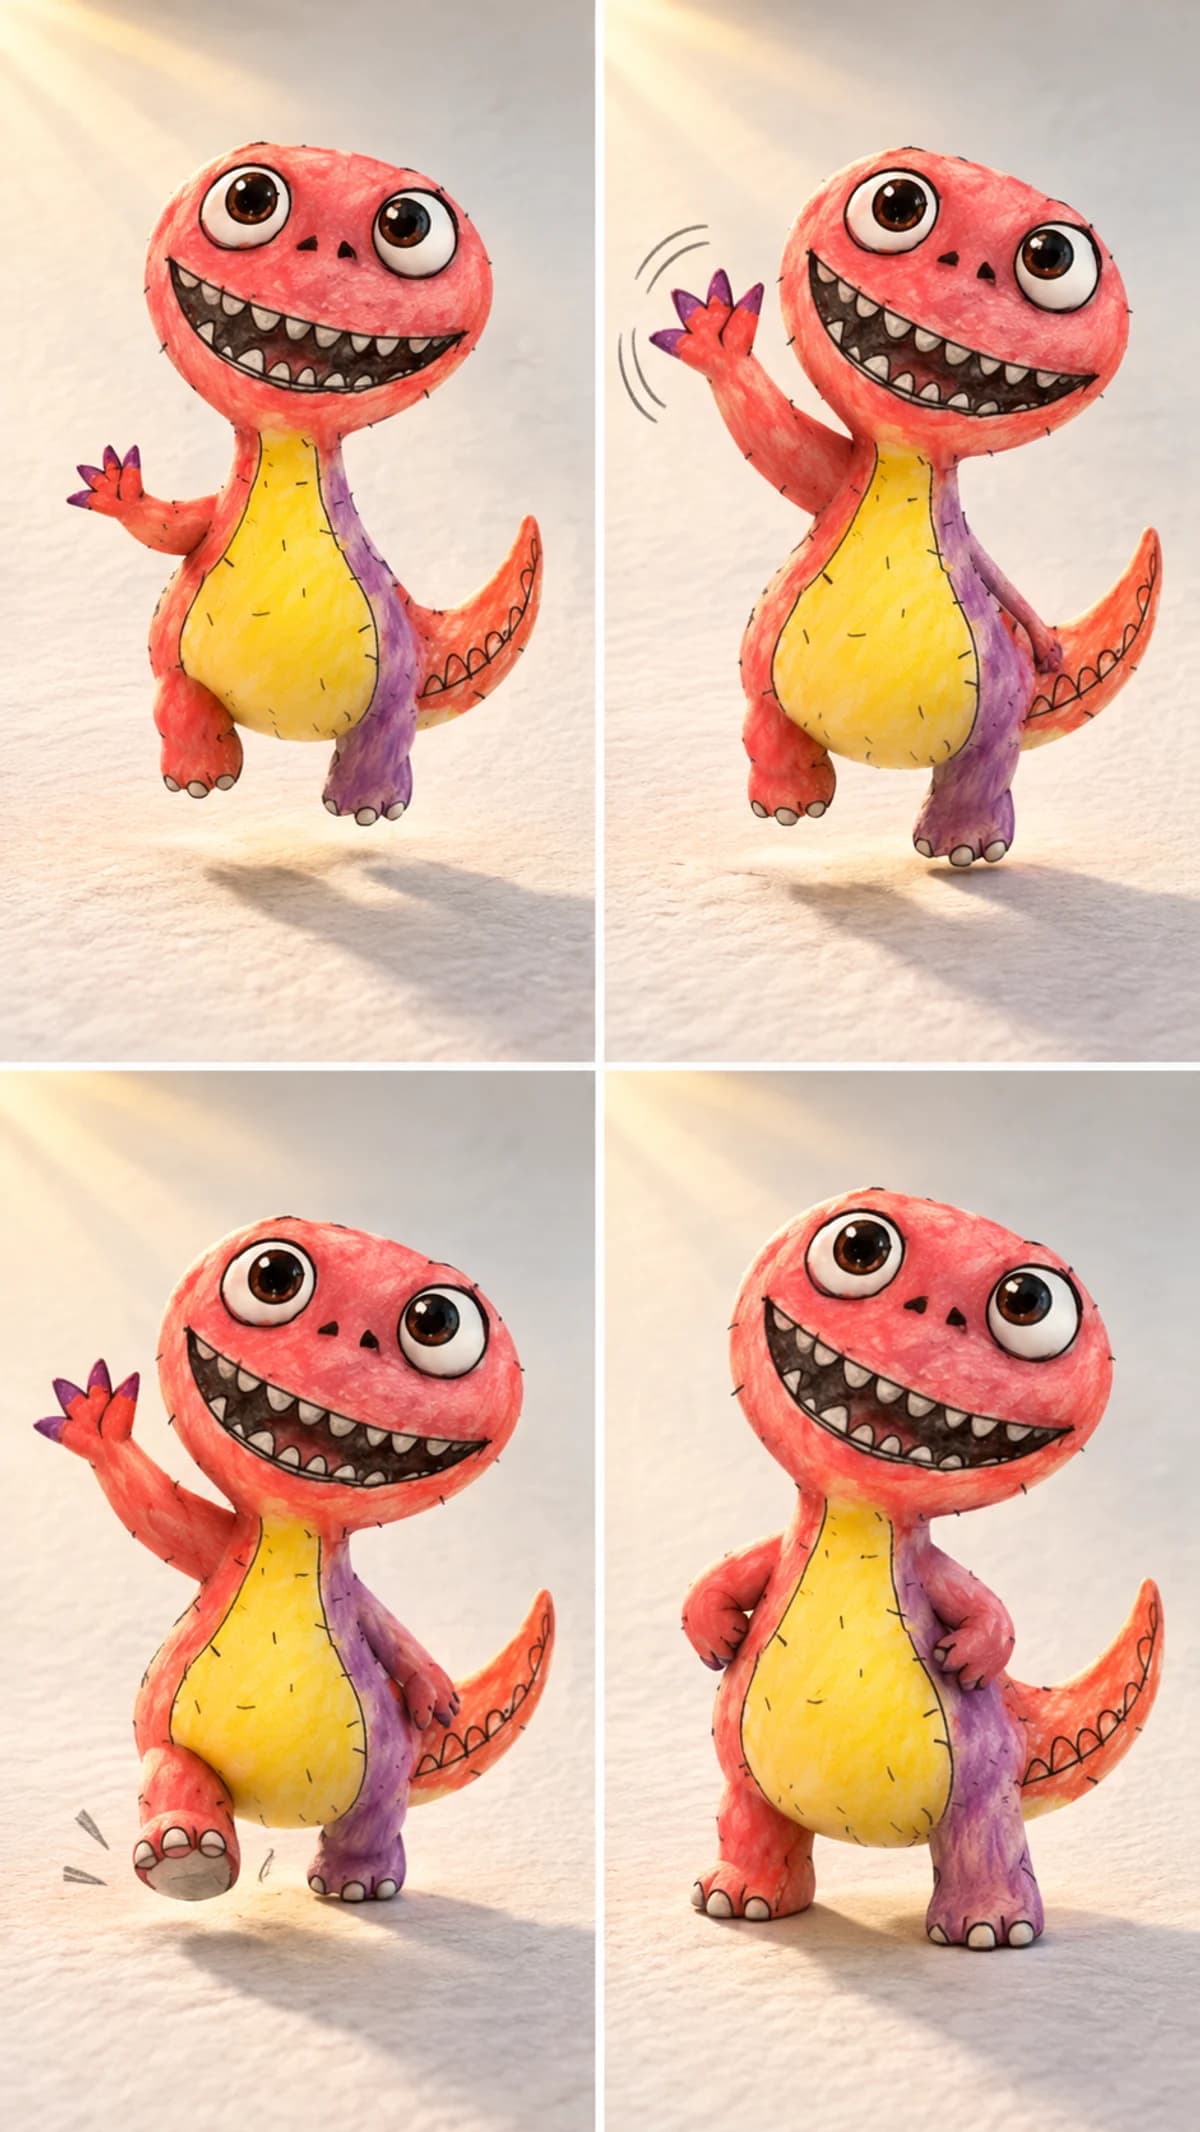
Storyboard 2 · continue the same character, wave, step and settle.
Before you continue: A finished clip should fill the frame with one scene. A moving grid of storyboard panels is a failed interpretation, even if the generation completed.
05
Watch the result, then make one useful change
Review the opening, transformation and ending at normal speed. Is it still the same character? Does it wave once? Does the step feel small and friendly? Watch the cut between the two shots for a sudden change in size, angle or light.
We also tested the same two prompts and the same ordered storyboard references with HeyGen. Its first shot produced a full-frame transformation, but its second animated a four-panel grid. The example shown here keeps the existing full-frame MiniMax H3 results. This small comparison is a reason to review each output, not a ranking of every model.
The selected clips were slightly longer than requested, so the example trims each to five seconds. It is a charming short demonstration, with a visible change of framing at the cut—not a promise of perfect continuity or exact reproduction. Listen separately to any generated sound before deciding what to keep. Normal generation credits apply, and revisions may need another generation.
- Keep the original drawing as the identity reference.
- Approve a recognizable character and a simple two-shot plan.
- Review motion before accepting a clip; reject grids and duplicated characters.
- Trim extra time, check the join and watch the final file before sharing.
Questions you might have
- How do I turn a drawing into a video?
- Photograph or scan the drawing, upload it as the character reference and describe one small action. Review the character and storyboard before generating video. This guide follows those steps with a real ten-second crayon-dinosaur example.
- Can I animate a sketch or doodle, not just a crayon drawing?
- A sketch or doodle can be your starting reference. Choose one clearly visible character and say which lines, colors and proportions should remain. Begin with a blink or wave and review the first result before extending it; this page’s completed example is a crayon drawing.
- Can AI animate my child’s actual drawing?
- Yes. Upload the drawing as a character reference, review a recognizable first look and plan a short action. The example on this page uses a real uploaded crayon drawing. Generated motion can change details, so review the result before accepting it.
- Does the drawing have to be a dinosaur?
- No. The template uses your own character. An animal, imaginary creature or simple person can work; a clear face and silhouette make the first review easier. If the picture has several characters, identify the lead.
- Can I keep it looking hand-drawn instead of 3D?
- Yes. Ask Director to preserve a flat hand-drawn look and animate a small gesture. The featured example uses a 2D-to-3D reveal, but your explicit style direction should guide your version.
- Will opening the template spend credits?
- No. Opening it prepares an editable starting point. Upload the drawing, create your project and review the plan, then continue through the usual generation controls. Normal generation and credit rules apply.
Which drawing would you love to see move?
Choose a creature, animal or character with a clear face. The Drawing to Life template starts with your image; a character name is optional.
Animate my drawingPaid media uses credits. Check current plans.
Written by the Vixel team. About our guides and examples. If a step needs correcting, let us know.
Start with the task in front of you
Find a character, shape the ending and develop a story draft with Director.
Plan a single action and refine it in the video workspace.
Develop a character or a visual direction before producing your shots.
Turn a product message into a script and shot sequence with Director.